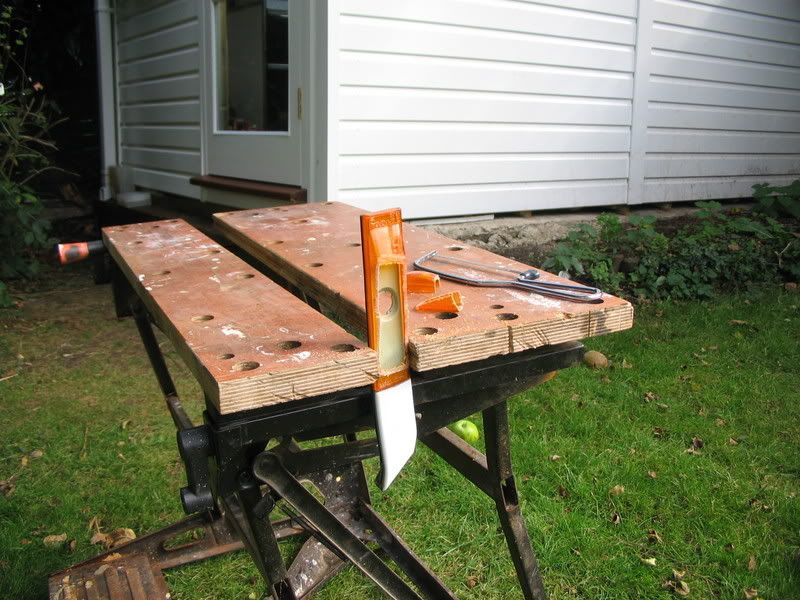
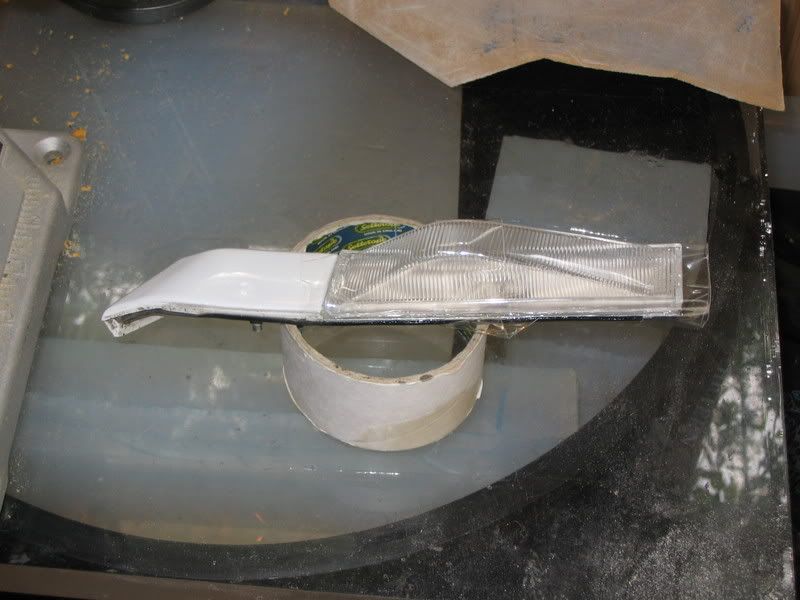
1) First step is to cut off the bulk of the bubble part of the lens. Hold the unit secure in a WorkMate or vice, and using a fine toothed saw, you should be able to easily remove the bulk of the lens. I only had a junior hacksaw, so had to cut it off in 2 parts.
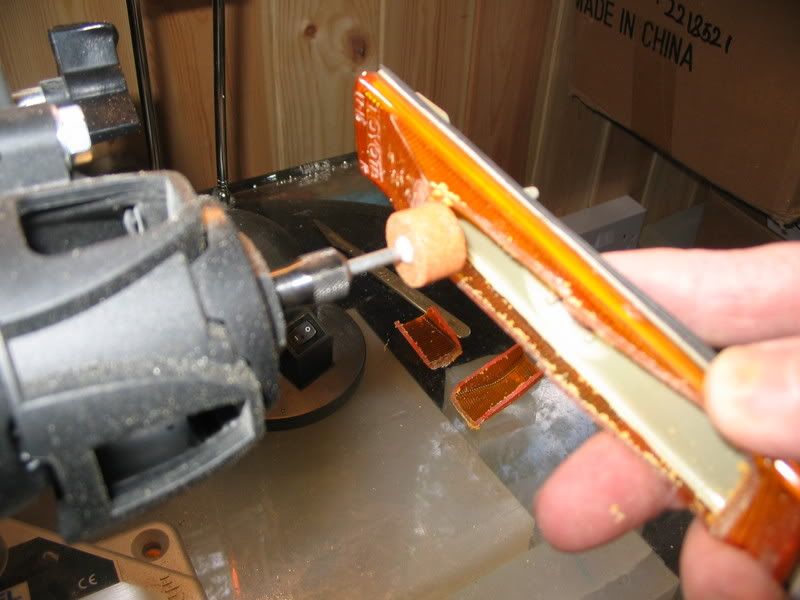
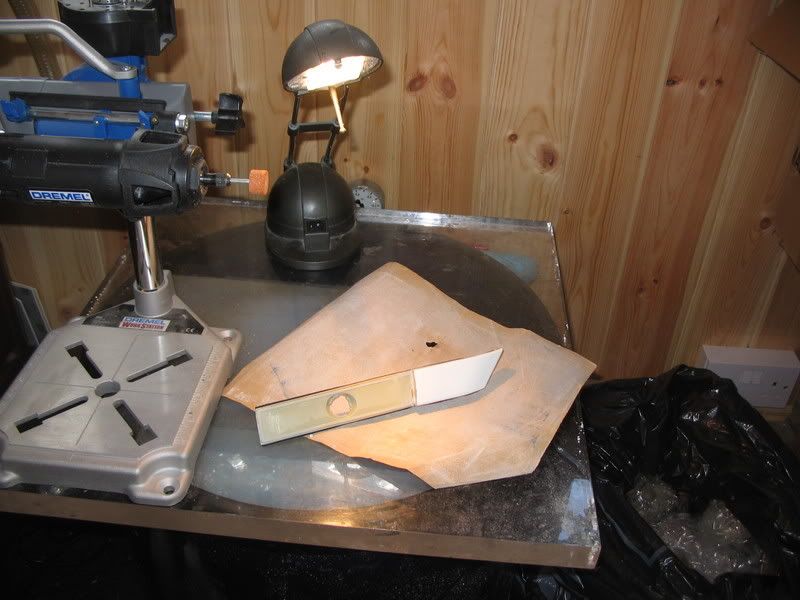
2) Next stage is to remove the remaining amber. First time I did it, I used a neighbours bench mounted grinder which works a treat. Take extra care when removing the last traces where the lens buts up to the coloured end of the unit. If you've got or can borrow a Dremel or similar tool, I think you'll find it a bit easier, as the small grinding wheel is more manouverable.
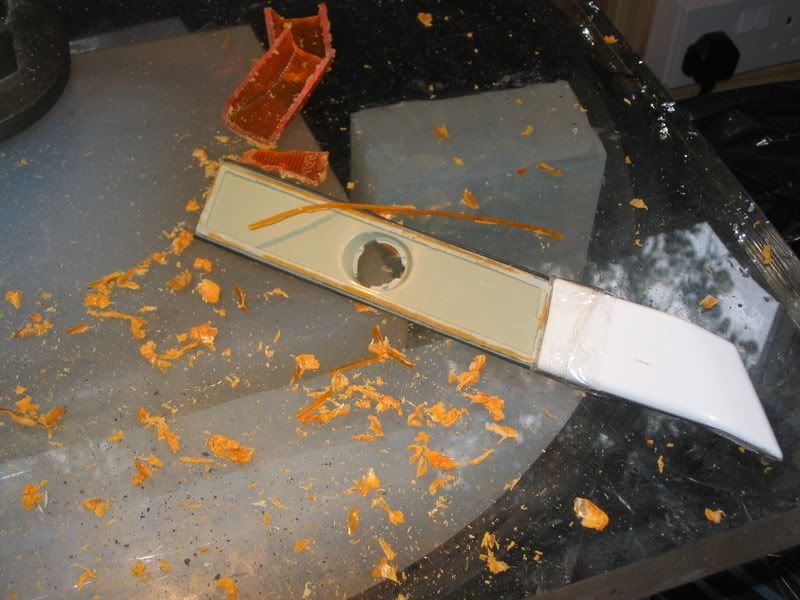
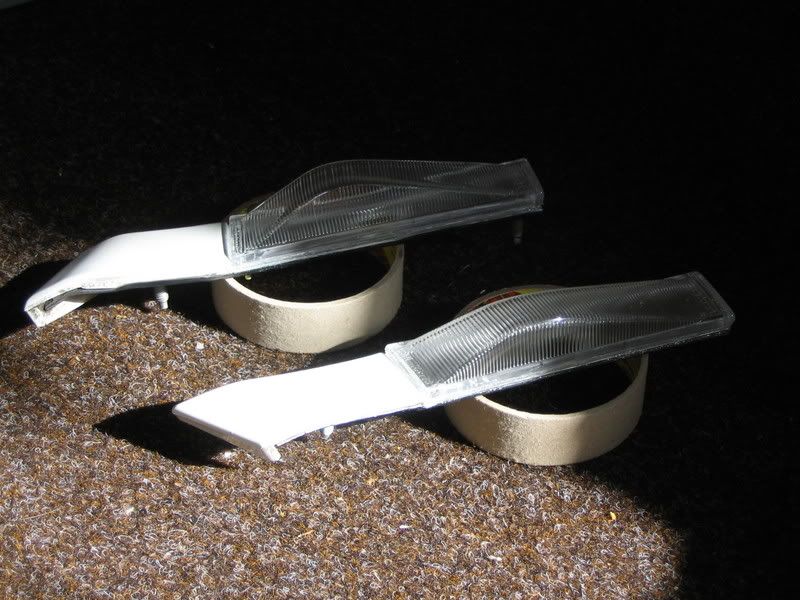
3) Here we can see part of the lens completely removed, but for now, retaining the outer lip on the backing case. If you haven't got a Dremel, then this and be done equally well with the unit held in vice, and using a flat file. Note that when you are down far enough, you will then be able to pick off the last thin strip of amber round the edge.
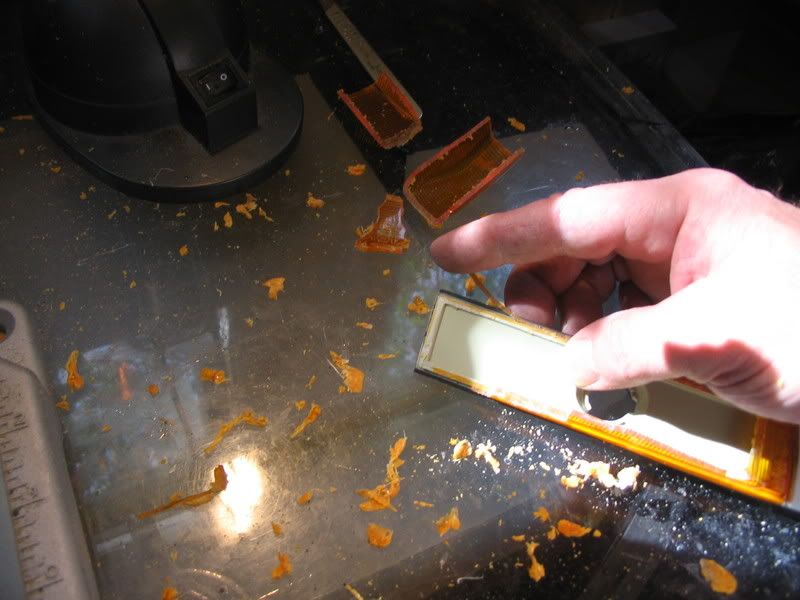
4) When you have finished, the casing should look like this.......
5) There will be small traces of the amber round the edge and the lip will not be a smooth surface. So, placing the backing part face down on a flat surface, you just rub away until the lip round the edge is almost removed.
6) Next I washed the unit in hot soapy water, using a tooth brush to get rid of any crud to get rid. This also slightlty softened the glue holding the rubber gasket to the backing. This enabled me to mask the rubber prior to chrome spraying.
Before....
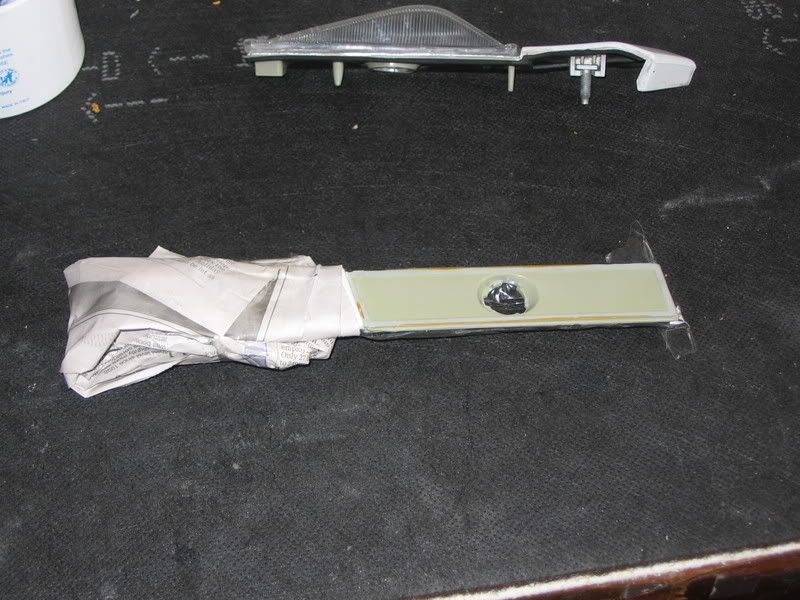
After....
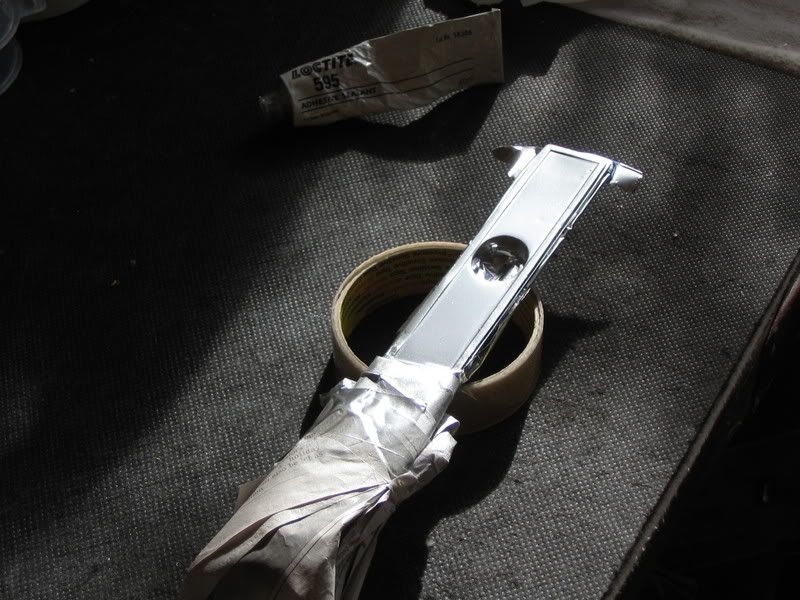
7) After the chrome spray has dried, remove the masking tape and paper. I put the unit in a cool oven for about 20 mins to speed things up. The final stage is attaching the lens to the fully prepared backing.
For this I use clear RTV silicone. I got a tube of Locktite 595 from Halfuds for about £3 IIRC. This is where the most care is needed. I use a small flat bladed srewdriver to apply a thin bead around the outside, making sure that you dont get it inside the remnant of the lip. Then, carefully press the clear lens into position, and wipe away any excess from from round the edge. Secure with tape at both ends and in the middle until set. I left them over night to be sure.
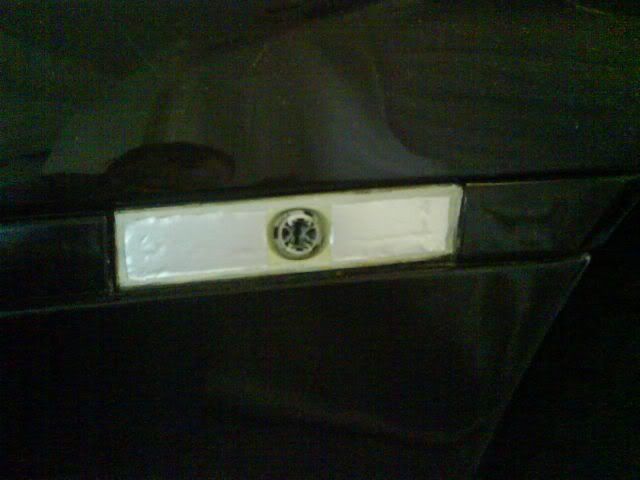
8) When you're sure they've cured, remove the tape and any excess dried silicone can just be rubbed away with your finger. The completed job is now ready to grace your car

Hopefully this can be Stickied in the appropriate place, to make it most easily accessable