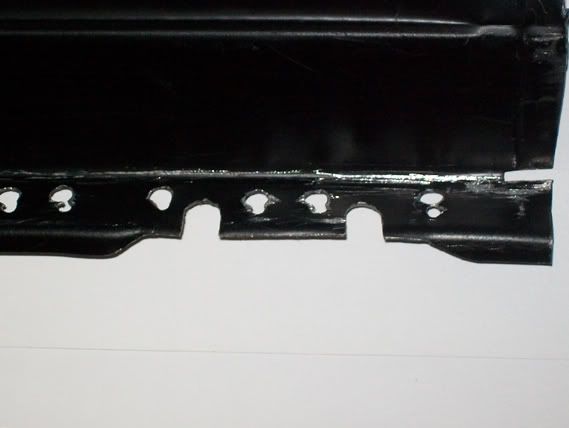
The holes drilled for the plug welds, I've used 6mm holes myself as the smaller 4mm punch holes used for plug welding I find sometimes fill and don't penetrate, plug welding these 4mm holes with the mig you hold the torch 90 degree and pull the trigger and hold it steady. With the 6mm I'll rotate the torch till its filled giving it more chance of penetrating and a stronger hold.
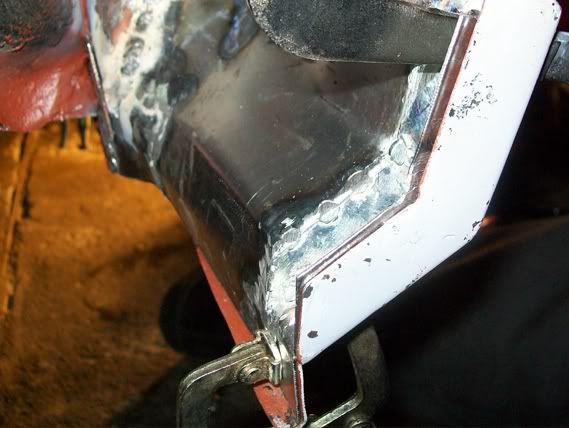
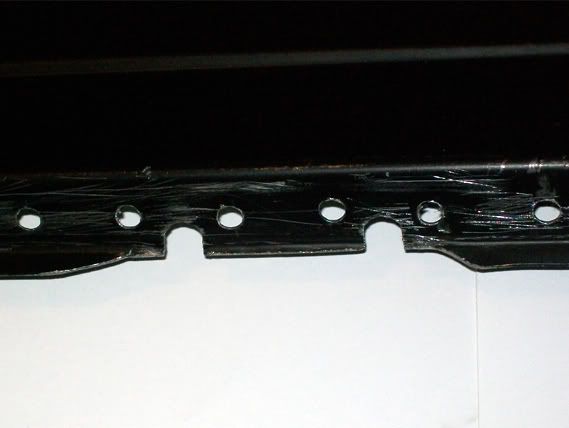
Rear jacking point, I've used a round file to create the same shape as the original.
Quite a few plug welds to do, these are about 20mm apart.

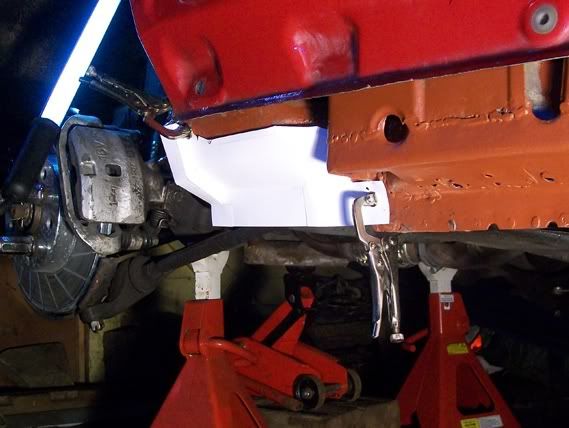
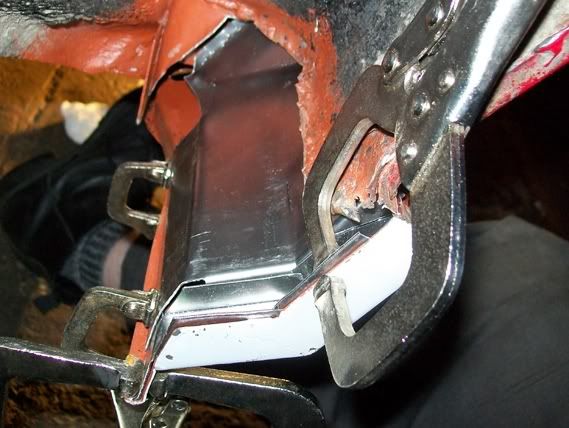
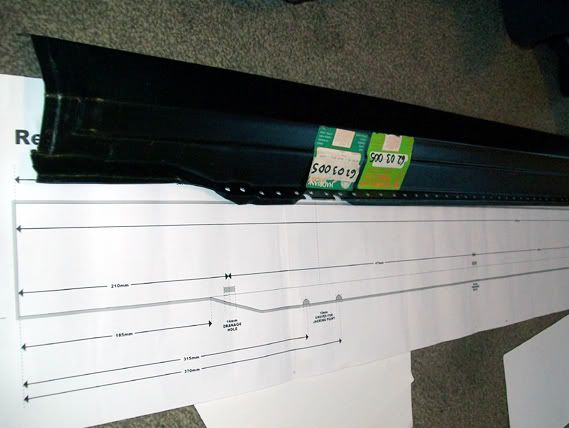
Front jacking point, the pilot holes were drilled first then the sill was offered up to the car, and I found the holes needed to be just a bit higher in this front area, the lower pilots will be fill with the mig.
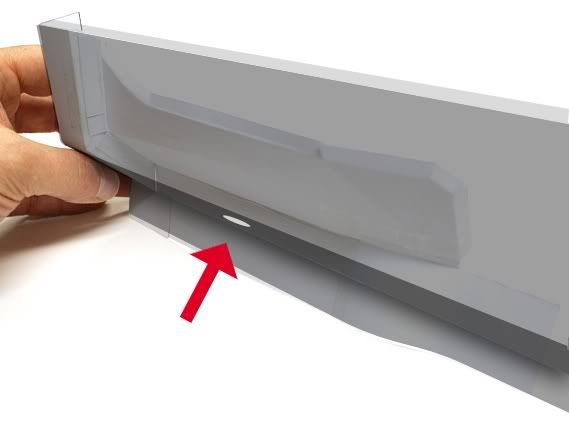
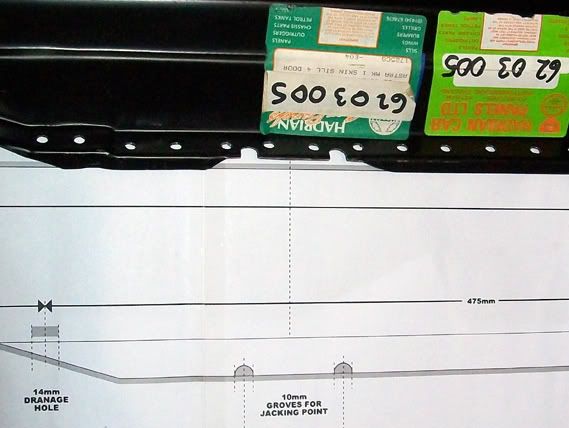
I'll need to drill the drainage holes, I measured the originals and got 14mm I've got some grommets that are for 13mm so 13mm it'll be.
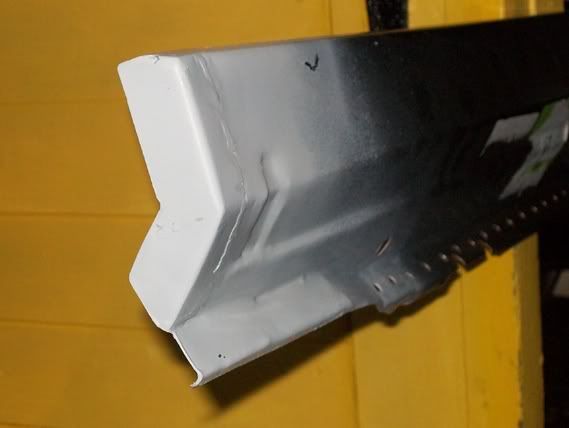
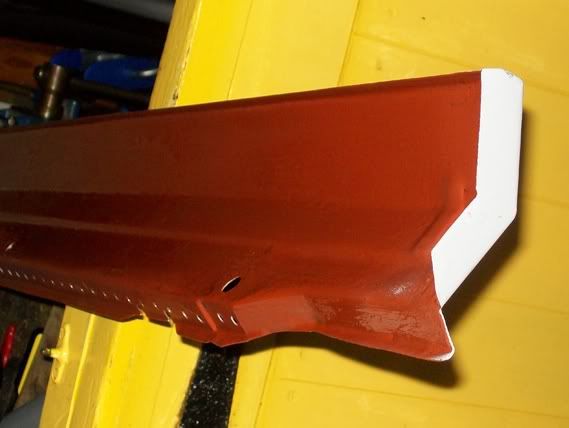
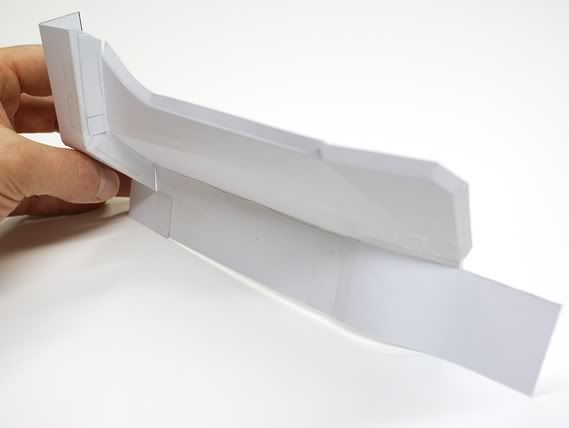
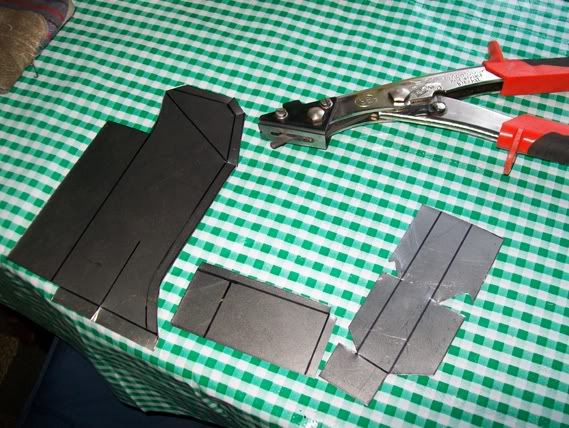
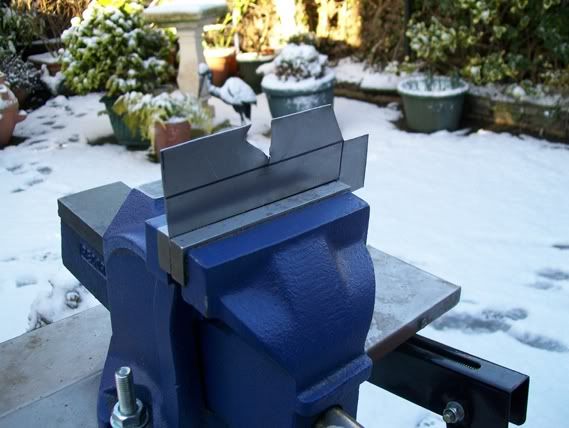
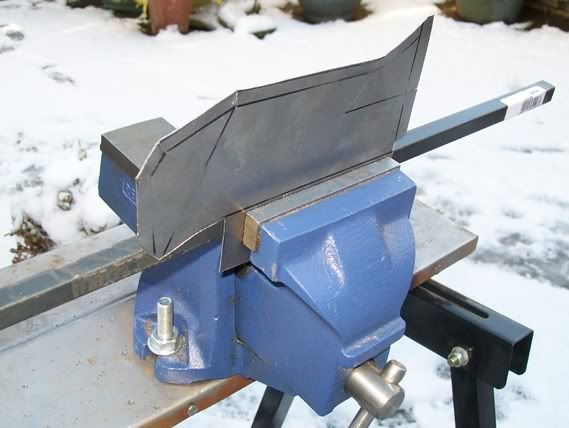
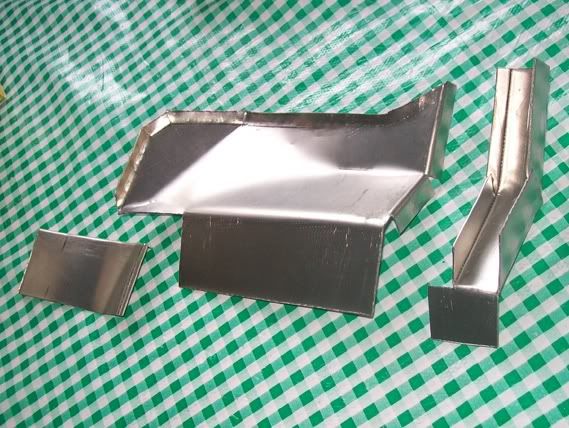
Made the end cap for the sill, and joggled the end of the sill.


The next job is to drill the drainage holes, weld the end cap on and then paint the inner part of the sill, I'll us weld through on the edges and the rest with Eastwood Rust Encapsulator, let that dry then start fabricating the rear inner lower arch area.